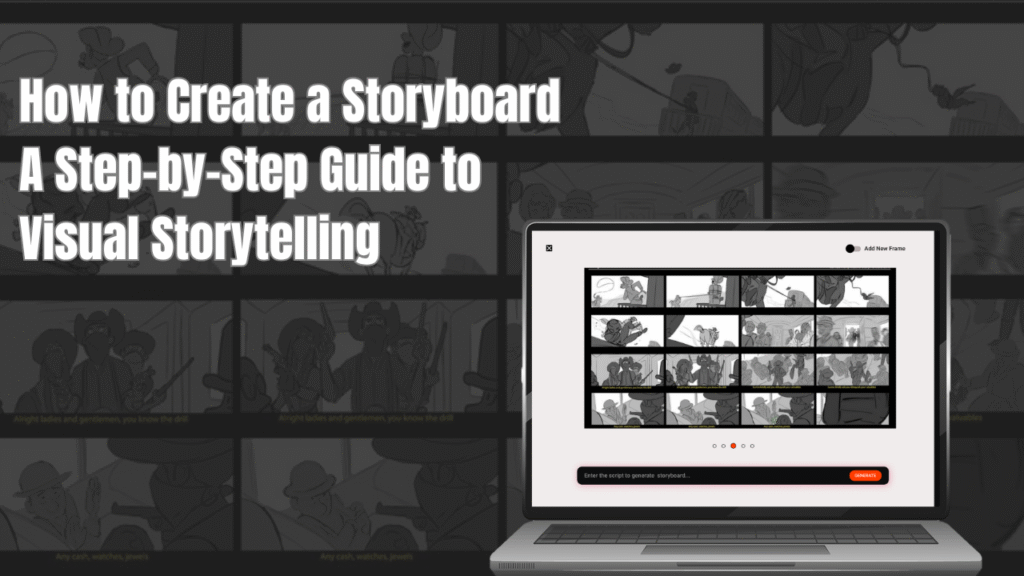
How to Create a Storyboard: A Step-by-Step Guide to Visual Storytelling

In the world of visual storytelling, planning is everything—and that’s where storyboards come in. Whether you’re producing a short film, working on an animation, designing a commercial, creating a comic, writing a book or novel, or mapping out a training video, creating an online storyboard can save you time, money, and confusion. If you’re wondering how to create a storyboard or why it’s essential, you’re in the right place.
Why is Creating a Storyboard Important?
A storyboard is like a visual blueprint of your story. It helps you lay out scenes, define the flow, and communicate your vision clearly. By creating a digital storyboard, you can:
- Clarify your story’s structure and pacing
- Plan shots, camera angles, and transitions
- Identify potential problems early in the process
- Align teams across creative, technical, and client-facing roles
- Save time during production by reducing uncertainty
Storyboarding website bridges the gap between concept and execution. It brings your ideas to life visually, making them easier to understand, refine, and execute. With a clear storyboard, everyone involved knows exactly what to create, how to create it, and what the final outcome should look like—turning creative vision into confident action.
The Basics of Creating a Storyboard
Before diving into how to make a storyboard, let’s understand the core elements that form the foundation of any effective storyboard. These elements are essential whether you’re using traditional methods or an online storyboard maker with ready-to-use storyboard templates.
Define Frames in Creating Storyboard
Panels (also called frames) are the individual sections of a storyboard, each representing a single moment, scene, or shot. They help you sequence the story visually and show how the narrative progresses from one point to the next.
Visual Sketches or Images
These are rough illustrations, mockups, or reference images that visually represent what’s happening in each panel of the storyboard. You don’t need to be a professional artist—simple sketches or digital assets work as long as they convey the action or setting clearly.
Captions or Notes
Beneath each frame, captions or notes describe the scene—what the characters are doing, any dialogue, sound effects, or camera movements. This adds context to the visuals and guides the production team or collaborators. Adding captions to all frames is good practice for creating professional storyboards.
You don’t need to be an artist—stick figures or simple graphics work just fine. The goal is clarity, not perfection.
Requirement Before Starting to Creating Storyboards
Proper preparation ensures that your storyboard reflects your vision clearly, whether you’re creating a film storyboard, animation storyboard, advertisement storyboard, or comic. Below are the key elements to gather before you create a storyboard—especially if you’re using a digital storyboard maker to streamline the process.
A Clear Script or Story Outline
Begin with a solid narrative structure. Whether it’s a full script for a short film or a chapter outline for a novel, your storyboard depends on knowing what’s happening in each scene. This serves as the roadmap for how the visuals will unfold.
Scene or Chapter Breakdown
Break your story into logical scenes or sections. This helps you identify where one visual sequence ends and another begins. In animation or film production, this could mean breaking it down shot by shot. For comics and novels, this means knowing where major plot points or visual beats occur.
Define Your Audience and Goals
Understanding who your audience is and what you want to achieve is crucial. Is your storyboard for a promotional video, an educational explainer, or a story-driven animation? Knowing your purpose will influence the tone, visual style, and level of detail.
Gather Reference Material
Collect inspiration, mood boards, character sketches, or style frames before you start creating. If you’re using a digital storyboard creator, you can upload these references to help align visuals throughout your storyboard.
Know Your Production Constraints
Consider your available time, budget, team size, and tools. This helps set realistic expectations for how detailed your storyboard should be and whether you’ll use pre-made storyboard templates or create custom designs from scratch.
Choose Your Tools
Decide whether you’ll sketch your storyboard by hand or use a storyboarding app. Many creators now prefer storyboard websites because they offer built-in storyboard templates, drag-and-drop functionality, and collaborative sharing features—ideal for remote teams or fast-paced productions.
With these elements in place, you’ll be fully prepared to move into the actual process of creating a storyboard—ensuring your visuals stay organized, purposeful, and production-ready from the start.
How to Create a Storyboard: Step-by-Step Process
Here’s a simplified guide on how to create a storyboard from scratch—designed to turn your raw ideas into a clear visual roadmap that grabs attention, inspires action, and keeps your story on track.

Start with a Template
Begin by choosing a storyboard template that suits your project format. These templates help organize your scenes into structured panels and streamline the process of creating a storyboard.
Sketch Your Scenes
In each panel, draw a simple representation of what’s happening. You don’t need to be an artist—just focus on conveying the scene’s key elements and actions. This is the heart of how to make a storyboard visually effective.
Add Descriptions and Dialogue
Under each sketch, write brief notes, dialogue, or scene directions. This adds clarity and helps others understand the story flow. It’s a crucial step when you create a storyboard for team collaboration.
Review and Revise
Step back and check your storyboard for logical flow, pacing, and consistency. Adjust panels as needed to improve storytelling and align with your vision.
Share with Your Team
Once you’re happy with the structure, share your storyboard with your team or clients. Whether you’re using an online storyboard maker or presenting in person, feedback at this stage ensures smooth production.
Conclusion
Learning how to create a storyboard is the first step toward transforming scattered ideas into a powerful visual story. It adds structure, sharpens your vision, and makes execution smoother. Following these steps makes your work easier—even if you’re not from a design background. With the right template and a clear outline, you’re ready to bring your concept to life, frame by frame. Your storyboard journey starts now.
